This tutorial will show you how to change the default terminal application to Let Windows decide, Windows Console Host, or Windows Terminal for your account in Windows 11.
A default terminal is the terminal emulator that launches by default when opening a command line application. Starting from the dawn of Windows, the default terminal emulator has always been the Windows Console Host, conhost.exe. This means that shells such as Command Prompt and PowerShell have always opened inside the Windows Console Host.
For a long time, users have not been easily able to replace the console host. There were definitely third parties who hooked the OS to make it possible, but it was never truly supported. Now, we are opening up the functionality to allow for other terminals to be set as default, including Windows Terminal.
On Windows 11, you are able to set Let Windows decide, Windows Console Host (default) or Windows Terminal as the default terminal application.
- If you select Let Windows decide, then when you open any command line application (ex: PowerShell, command prompt, WSL, etc...), it will open inside Windows Terminal if available.
- If you select Windows Terminal, then when you open any command line application (ex: PowerShell, command prompt, WSL, etc...), it will open inside Windows Terminal by default.
- If you select Windows Console Host, then when you open any command line application (ex: PowerShell, command prompt, WSL, etc...), it will open in its own console window.
References:

Windows Terminal as your Default Command Line Experience
Hey Windows Terminal fans! This month we are delivering a servicing release and the next feature release is scheduled for January, so we figured we’d write a blog post discussing Windows Terminal as the default command line experience on Windows and what our future plans are...
 www.elevenforum.com
Windows Terminal is now the Default in Windows 11
The day has finally come! Windows Terminal is now the default command line experience on Windows 11 22H2! 🎉 This means that all command line applications will now automatically open in Windows Terminal. This blog post will go into how this setting is enabled, the journey of Windows Terminal...
 devblogs.microsoft.com
Command Prompt and Windows Powershell - Microsoft Support
 support.microsoft.com
Contents
- Option One: Change Default Terminal Application in Settings
- Option Two: Change Default Terminal Application in Windows Terminal Settings
- Option Three: Change Default Terminal Application in Windows Console Host Properties
- Option Four: Change Default Terminal Application using REG file
1 Open Settings (Win+I).
2 Perform an available action below. (see screenshots below)
- Click/tap on System on the left side, and click/tap on For developers on the right side.
- Click/tap on System on the left side, and click/tap on Advanced on the right side.
Starting with Windows 11 build 26120.4151 (Beta 24H2) and build 26200.5603 (Dev 24H2), the For developers page has been redesigned as the Advanced page.
3 Select Let Windows decide (default), Windows Console Host or Windows Terminal in the Terminal drop menu for what you want. (see screenshot below)
4 You can now close Settings if you like.
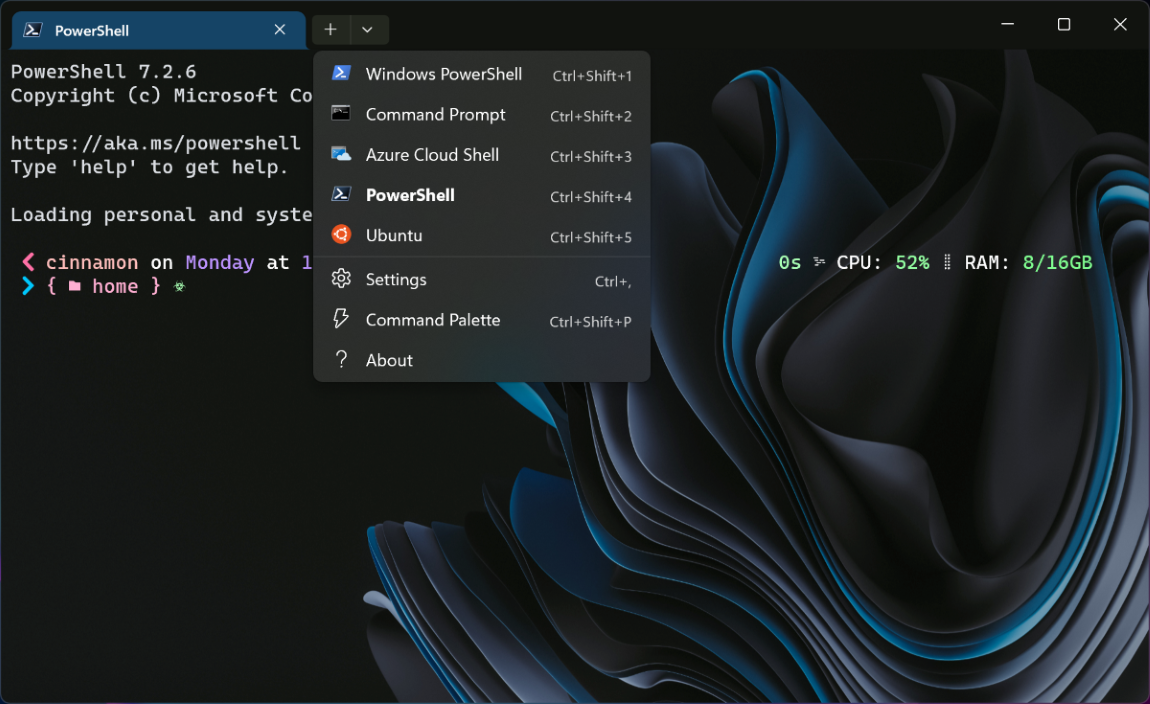
1 Open Windows Terminal.
2 Click/tap on the down arrow button on the top bar, and click/tap on Settings Ctrl + , (comma). (see screenshot below)
3 Click/tap on Startup in the left pane. (see screenshot below)
4 Select Let Windows decide (default), Windows Console Host or Windows Terminal for what you want in the Default Terminal Application drop menu.
5 Click/tap on Save at the bottom right.
6 You can now close the Settings tab or Windows Terminal if you like.
1 Open a Command Prompt (cmd.exe), Windows PowerShell (PowerShell.exe), or WSL console.
2 Right click or press and hold on the title bar of the console window, and click/tap on Properties. (see screenshot below)
3 Click/tap on the Terminal tab. (see screenshot below)
4 Select Let Windows decide (default), Windows Console Host or Windows Terminal for what you want in the Default Terminal Application drop menu.
5 Click/tap on OK.
1 Do step 2 (Let Windows decide), step 3 (Windows Console Host), or step 4 (Windows Terminal) below for what you want as the default terminal app.
2 Set "Let Windows decide" as Default Terminal App
This is the default setting.
A) Click/tap on the Download button below to download the file below, and go to step 5 below.
Let_Windows_decide_as_default_terminal_app.reg
Download
(Contents of REG file for reference)
Code:
Windows Registry Editor Version 5.00

[HKEY_CURRENT_USER\Console\%%Startup]
"DelegationConsole"="{00000000-0000-0000-0000-000000000000}"
"DelegationTerminal"="{00000000-0000-0000-0000-000000000000}"
3 Set "Windows Console Host" as Default Terminal App
A) Click/tap on the Download button below to download the file below, and go to step 5 below.
Windows_Console_Host_as_default_terminal_app.reg
Download
(Contents of REG file for reference)
Code:
Windows Registry Editor Version 5.00

[HKEY_CURRENT_USER\Console\%%Startup]
"DelegationConsole"="{B23D10C0-E52E-411E-9D5B-C09FDF709C7D}"
"DelegationTerminal"="{B23D10C0-E52E-411E-9D5B-C09FDF709C7D}"
4 Set "Windows Terminal" as Default Terminal App
A) Click/tap on the Download button below to download the file below, and go to step 5 below.
Windows_Terminal_as_default_terminal_app.reg
Download
(Contents of REG file for reference)
Code:
Windows Registry Editor Version 5.00

[HKEY_CURRENT_USER\Console\%%Startup]
"DelegationConsole"="{2EACA947-7F5F-4CFA-BA87-8F7FBEEFBE69}"
"DelegationTerminal"="{E12CFF52-A866-4C77-9A90-F570A7AA2C6B}"
5 Save the .reg file to your desktop.
6 Double click/tap on the downloaded .reg file to merge it.
7 When prompted, click/tap on Run, Yes (UAC), Yes, and OK to approve the merge.
8 You can now delete the downloaded .reg file if you like.
That's it,
Shawn Brink
Attachments
Last edited: