- Local time
- 9:51 AM
- Posts
- 8,693
- OS
- Windows 11 Pro + Win11 Canary VM.
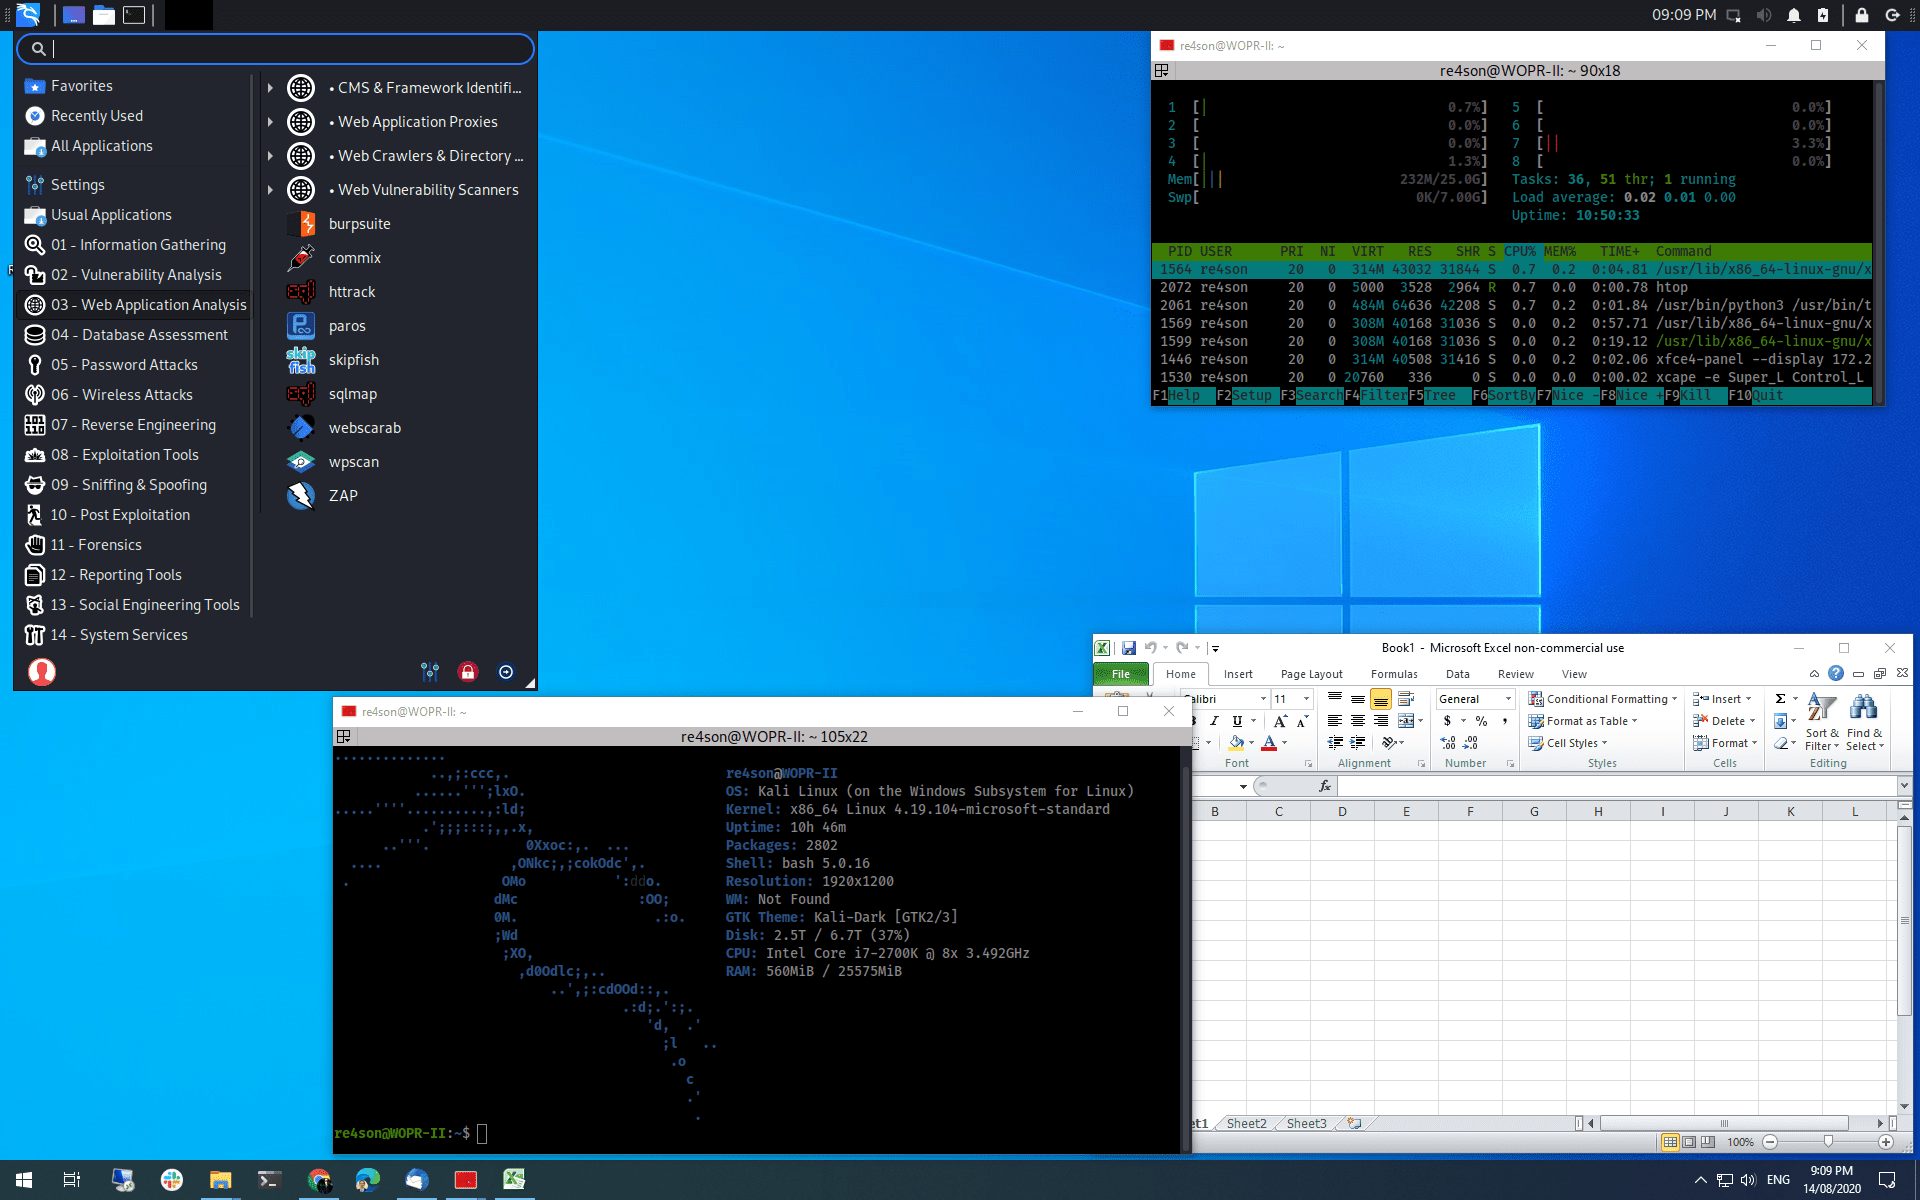
I have previously shown how to install Ubuntu in Hyper-V enhanced mode but I was googling how to do it for other distros, and came across how to do it for Kali Linux
I could not believe how simple it was compared to setting up Ubuntu. Basically one command in step 3 does all the hard work!
Edit: I have just discovered it has sound as well. I had to go through hoops and loops to get sound in Ubuntu!
Ubuntu - eat your heart out!!!
1) Download Kali iso
2) Install Kali in Hyper-V as a gen 2 pc in usual way (secure boot needs to be off), setting up an account name and password.
Loads of guides on web how to do this but pretty straight forward. Assume you have call Kali VM simply "Kali"
3) once logged into Kali, open up terminal and run
select "virtualisation" and then "Configure the system for Hyper-V enhanced session mode"
That installs XRDP.
4) close down Kali VM
5) Run following from admin Powershell
(Change vm name in quotes if you used a different one in Step 2)
6) Reboot pc and restart hyper-v Kali vm.
It will come up with the standard Hyper-V enhanced mode pop up screen where you can choose resolution, Windows drives to share with Kali (must be set up as shared drives in Windows in usual way).

It will then come up with the xrdp login screen and you enter name and password

You can now see shared drives from Windows (if you have set up shares)

You can also cut and paste now between Windows and Kali.
I could not believe how simple it was compared to setting up Ubuntu. Basically one command in step 3 does all the hard work!
Edit: I have just discovered it has sound as well. I had to go through hoops and loops to get sound in Ubuntu!
Ubuntu - eat your heart out!!!
1) Download Kali iso
2) Install Kali in Hyper-V as a gen 2 pc in usual way (secure boot needs to be off), setting up an account name and password.
Loads of guides on web how to do this but pretty straight forward. Assume you have call Kali VM simply "Kali"
3) once logged into Kali, open up terminal and run
Code:
kali-tweaksselect "virtualisation" and then "Configure the system for Hyper-V enhanced session mode"
That installs XRDP.
4) close down Kali VM
5) Run following from admin Powershell
Code:
Set-VM "Kali" -EnhancedSessionTransportType HVSocket(Change vm name in quotes if you used a different one in Step 2)
6) Reboot pc and restart hyper-v Kali vm.
It will come up with the standard Hyper-V enhanced mode pop up screen where you can choose resolution, Windows drives to share with Kali (must be set up as shared drives in Windows in usual way).
It will then come up with the xrdp login screen and you enter name and password
You can now see shared drives from Windows (if you have set up shares)
You can also cut and paste now between Windows and Kali.
Last edited:
My Computer
At a glance
Windows 11 Pro + Win11 Canary VM.I9 13th gen i9-13900H 2.60 GHZ16 GB solderedIntegrated Intel Iris XE
- OS
- Windows 11 Pro + Win11 Canary VM.
- Computer type
- Laptop
- Manufacturer/Model
- ASUS Zenbook 14
- CPU
- I9 13th gen i9-13900H 2.60 GHZ
- Motherboard
- Yep, Laptop has one.
- Memory
- 16 GB soldered
- Graphics Card(s)
- Integrated Intel Iris XE
- Sound Card
- Realtek built in
- Monitor(s) Displays
- laptop OLED screen
- Screen Resolution
- 2880x1800 touchscreen
- Hard Drives
- 1 TB NVME SSD (only weakness is only one slot)
- PSU
- Internal + 65W thunderbolt USB4 charger
- Case
- Yep, got one
- Cooling
- Stella Artois (UK pint cans - 568 ml) - extra cost.
- Keyboard
- Built in UK keybd
- Mouse
- Bluetooth , wireless dongled, wired
- Internet Speed
- 900 mbs (ethernet), wifi 6 typical 350-450 mb/s both up and down
- Browser
- Edge
- Antivirus
- Defender
- Other Info
- TPM 2.0, 2xUSB4 thunderbolt, 1xUsb3 (usb a), 1xUsb-c, hdmi out, 3.5 mm audio out/in combo, ASUS backlit trackpad (inc. switchable number pad)
Macrium Reflect Home V8
Office 365 Family (6 users each 1TB onedrive space)
Hyper-V (a vm runs almost as fast as my older laptop)