This tutorial will show you how to add or remove Quick Settings for your account in Windows 11.
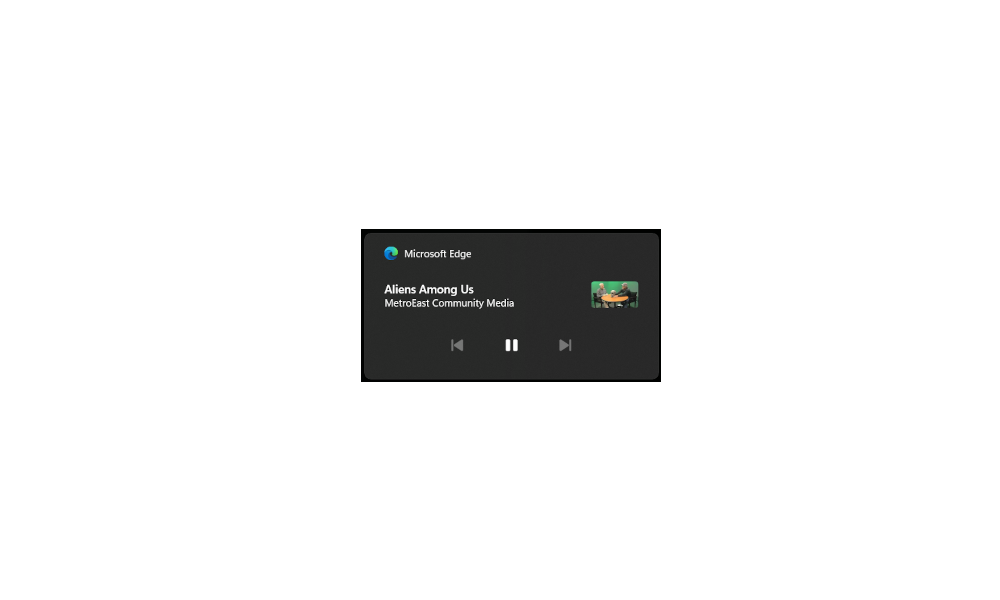
Quick Settings gives you quick access from the taskbar corner to commonly used settings and apps like Volume, Brightness, Wi-Fi, Bluetooth, Airplane mode, Rotation lock, Battery saver, Accessibility, Night light, Mobile hotspot, Nearby sharing, Cast, and Project. Directly above your Quick Settings, you will see media playback controls when playing music or videos in Microsoft Edge or streaming music in apps like Spotify.
Starting with Windows 11 build 22579, the Keyboard Layout section has been removed from Quick Settings.
You can no longer add and remove Quick Settings in Windows 11 version 24H2.
Starting with Windows 11 build 25967 (Canary), Microsoft is trying out a scrollable view of quick settings to some Windows Insiders in the Canary Channel as part of evaluating effectiveness of different layouts. As part of the change, rather than having to edit the list to add new quick actions, the user now has a scrollable list of quick actions that can be rearranged.
Reference:
Notifications and Do Not Disturb in Windows - Microsoft Support
Learn how to manage and configure notifications in Windows, including using the "Do Not Disturb" feature to silence alerts and stay focused. Discover how to activate "Do Not Disturb" from the Notification Center and use shortcuts to enhance productivity.
 support.microsoft.com
EXAMPLE: Quick Settings on taskbar corner
1 Open Quick Settings (Win+A). (see screenshot below step 2)
2 Click/tap on the Edit quick settings (pencil) button. (see screenshot below)
3 Click/tap on Add, and click/tap on an available setting you want to add. (see screenshot below)
You will need to repeat this step for each setting you want to add.
4 You can drag and drop settings to re-arrange them in Quick Settings.
5 Click/tap on Done when finished adding settings. (see screenshot below)
1 Open Quick Settings (Win+A). (see screenshot below step 2)
2 Click/tap on the Edit quick settings (pencil) button. (see screenshot below)
3 Click/tap on the Unpin button on the settings you want to remove. (see screenshot below)
You will need to repeat this step for each setting you want to remove.
4 You can drag and drop settings to re-arrange them in Quick Settings.
5 Click/tap on Done when finished removing settings. (see screenshot below)
That's it,
Shawn Brink
Related Tutorials
- Enable or Disable Quick Settings in Windows 11
- Open Quick Settings in Windows 11
- Backup and Restore Quick Settings in Windows 11
- Reset Quick Settings in Windows 11
- Enable or Disable Editing Quick Settings in Windows 11
- Enable or Disable Simplified Quick Settings in Windows 11
- Rearrange Quick Actions in Quick Settings in Windows 11
Last edited: