- Local time
- 2:07 AM
- Posts
- 7,152
- OS
- Windows 11 Pro + Win11 Canary VM.
In a previous post, I showed how to get sound on an ubuntu Hyper-VM build but it was pretty complicated.
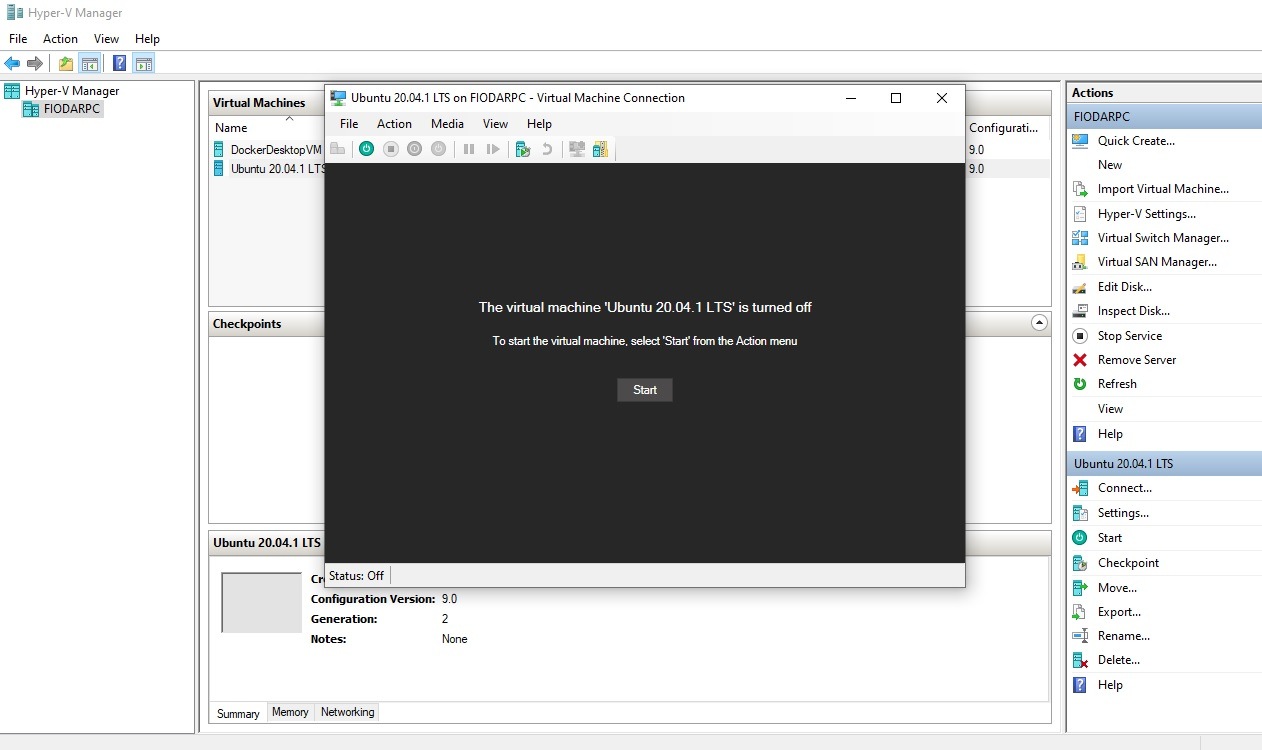
I came across a simpler method using ffmpeg

 scientificprogrammer.net
Basic steps are as follows:
1) install xrdp so you can get enhanced mode.
I used this for ubuntu

 www.nakivo.com
2) install pulseaudio
3) install ffmpeg on Windows - I chose ffmpeg-N-103679-g7bbad32d5a-win64-gpl (see 1st link for details)
4) run this in powershell with admin rights
It runs and jumps to a cmd file and sort of stops dead as it executes - that is how it works.
With a little effort, you could auto start this using Task Scheduler I am sure. I just created a .bat file. This needs to be run each time you start windows (if you intend to use Linux with sound)
5) install ffmpeg on ubuntu vm
6) Setup link to pulse audio
7) Start audio
Note: Change IP address for IP address of your Linux VM. Mine is 192.168.1.198. Look in network settings in Linux VM.
8) Kick start process
Sometimes you need to kick start process by running following command.
It takes a few seconds to kick in.
You have to repeat steps 6 and 7 (and 8 if applicable) each time you restart Linux. Guys cleverer than me will work out how to create a batch file to do this on start I am sure.
You get a slight time delay but you can correct this in VLC. Again, guys cleverer than me will work out how to have a permanent delay (+ or -) with ffmpeg.
I came across a simpler method using ffmpeg

Getting audio working on Ubuntu VM on Hyper-V - Scientific Programmer
As the author of NetCoreAudio, a .NET library that is designed to play audio on Windows, Mac OS, and Linux, I need to have all three operating systems available for testing. The simplest and cheapest way to set up multiple operating systems is to use virtual machines (VMs). My main Continue Reading
Basic steps are as follows:
1) install xrdp so you can get enhanced mode.
I used this for ubuntu

How to Enable Hyper-V Enhanced Session for Ubuntu 20.04 VMs
Let’s look at how to create and configure an Ubuntu 20.04 VM from scratch in Hyper-V. In this blog post, I use Windows 10 Pro version 20H2 with Hyper-V.
2) install pulseaudio
Code:
sudo apt update
Code:
sudo snap install pulseaudio3) install ffmpeg on Windows - I chose ffmpeg-N-103679-g7bbad32d5a-win64-gpl (see 1st link for details)
4) run this in powershell with admin rights
Code:
ffplay -nodisp -ac 2 -acodec pcm_s16le -ar 48000 -analyzeduration 0 -probesize 32 -f s16le -i udp://0.0.0.0:18181?listen=1It runs and jumps to a cmd file and sort of stops dead as it executes - that is how it works.
With a little effort, you could auto start this using Task Scheduler I am sure. I just created a .bat file. This needs to be run each time you start windows (if you intend to use Linux with sound)
5) install ffmpeg on ubuntu vm
Code:
sudo snap install ffmpeg6) Setup link to pulse audio
Code:
pactl load-module module-null-sink sink_name=remote7) Start audio
Code:
ffmpeg -f pulse -i "remote.monitor" -ac 2 -acodec pcm_s16le -ar 48000 -f s16le "udp://192.168.1.198:18181"Note: Change IP address for IP address of your Linux VM. Mine is 192.168.1.198. Look in network settings in Linux VM.
8) Kick start process
Sometimes you need to kick start process by running following command.
Code:
pulseaudio - kIt takes a few seconds to kick in.
You have to repeat steps 6 and 7 (and 8 if applicable) each time you restart Linux. Guys cleverer than me will work out how to create a batch file to do this on start I am sure.
You get a slight time delay but you can correct this in VLC. Again, guys cleverer than me will work out how to have a permanent delay (+ or -) with ffmpeg.
Last edited:
My Computer
System One
-
- OS
- Windows 11 Pro + Win11 Canary VM.
- Computer type
- Laptop
- Manufacturer/Model
- ASUS Zenbook 14
- CPU
- I9 13th gen i9-13900H 2.60 GHZ
- Motherboard
- Yep, Laptop has one.
- Memory
- 16 GB soldered
- Graphics Card(s)
- Integrated Intel Iris XE
- Sound Card
- Realtek built in
- Monitor(s) Displays
- laptop OLED screen
- Screen Resolution
- 2880x1800 touchscreen
- Hard Drives
- 1 TB NVME SSD (only weakness is only one slot)
- PSU
- Internal + 65W thunderbolt USB4 charger
- Case
- Yep, got one
- Cooling
- Stella Artois (UK pint cans - 568 ml) - extra cost.
- Keyboard
- Built in UK keybd
- Mouse
- Bluetooth , wireless dongled, wired
- Internet Speed
- 900 mbs (ethernet), wifi 6 typical 350-450 mb/s both up and down
- Browser
- Edge
- Antivirus
- Defender
- Other Info
- TPM 2.0, 2xUSB4 thunderbolt, 1xUsb3 (usb a), 1xUsb-c, hdmi out, 3.5 mm audio out/in combo, ASUS backlit trackpad (inc. switchable number pad)
Macrium Reflect Home V8
Office 365 Family (6 users each 1TB onedrive space)
Hyper-V (a vm runs almost as fast as my older laptop)


