This tutorial will show you how to calibrate a HDR display using the Windows HDR Calibration app for your account in Windows 11.
HDR content offers better brightness and color capabilities compared to traditional content (sometimes called standard dynamic range [SDR] content). Traditional content typically shows details in a bright part of a scene or a darker part of a scene but not in both parts at the same time. For example, if the shot focuses on a bright window in the scene, details in the shadow are lost.
You can use the Windows HDR Calibration app to calibrate your HDR (high dynamic range) display for a better experience with HDR content on your Windows 11 PC. The Windows HDR Calibration app helps you improve color accuracy and consistency. It also lets you customize how vividly colors will appear for both HDR and SDR (standard dynamic range) content when HDR is turned on.
The Windows HDR Calibration app has three test patterns that are recommended by the HDR Gaming Interest Group (HGIG) for a better HDR gaming experience. These three tests determine:
- The darkest visible details you can see.
- The brightest visible details.
- The maximum brightness for your display.
- HDR certified displays typically work great out of the box without any additional calibration. However, you should still consider using the Windows HDR Calibration app on your HDR display. To learn more about the different HDR display certification programs and Windows, see Display requirements for HDR video in Windows.
- The Windows HDR Calibration app may not work as expected if your HDR display has post-processing effects on by default. You might be able to turn off post-processing effects by using the on-screen display menu and buttons on your display.
- Use the app in the same lighting conditions that you normally use for your HDR display.
- Keep an eye on how vivid you make colors appear when calibrating your display. If you increase it too much, HDR content on display might look unnatural and over saturated.
- The Before and After images might look similar depending on your display.
- Calibrating a display will create a new color profile for the display where the calibration tool is located. If you want to delete a color profile that was created by using the Windows HDR Calibration app, you can do it using Color Management (colorcpl.exe) in Control Panel. Select the Start button, type color management, then select it in the list of results. In Color Management, select the All Profiles tab, select the color profile you want to delete, then select Remove.

- Run this app whenever you change your display setup (for example, add a new display or replace an existing one).
The Windows HDR Calibration app is here - DirectX Developer Blog
The wait for the Windows HDR Calibration app is over! If you're on Windows 11 and want to calibrate your HDR-capable device, you can now go to the Microsoft Store and download the app. 😊
 devblogs.microsoft.com
Calibrate your HDR display using the Windows HDR Calibration app - Microsoft Support
Learn how to calibrate your HDR display by using the Windows HDR Calibration app that you can download from the Microsoft Store.
 support.microsoft.com
Here's How:
1 If you haven't already, you will need to install the free Windows HDR Calibration app from the Microsoft Store.
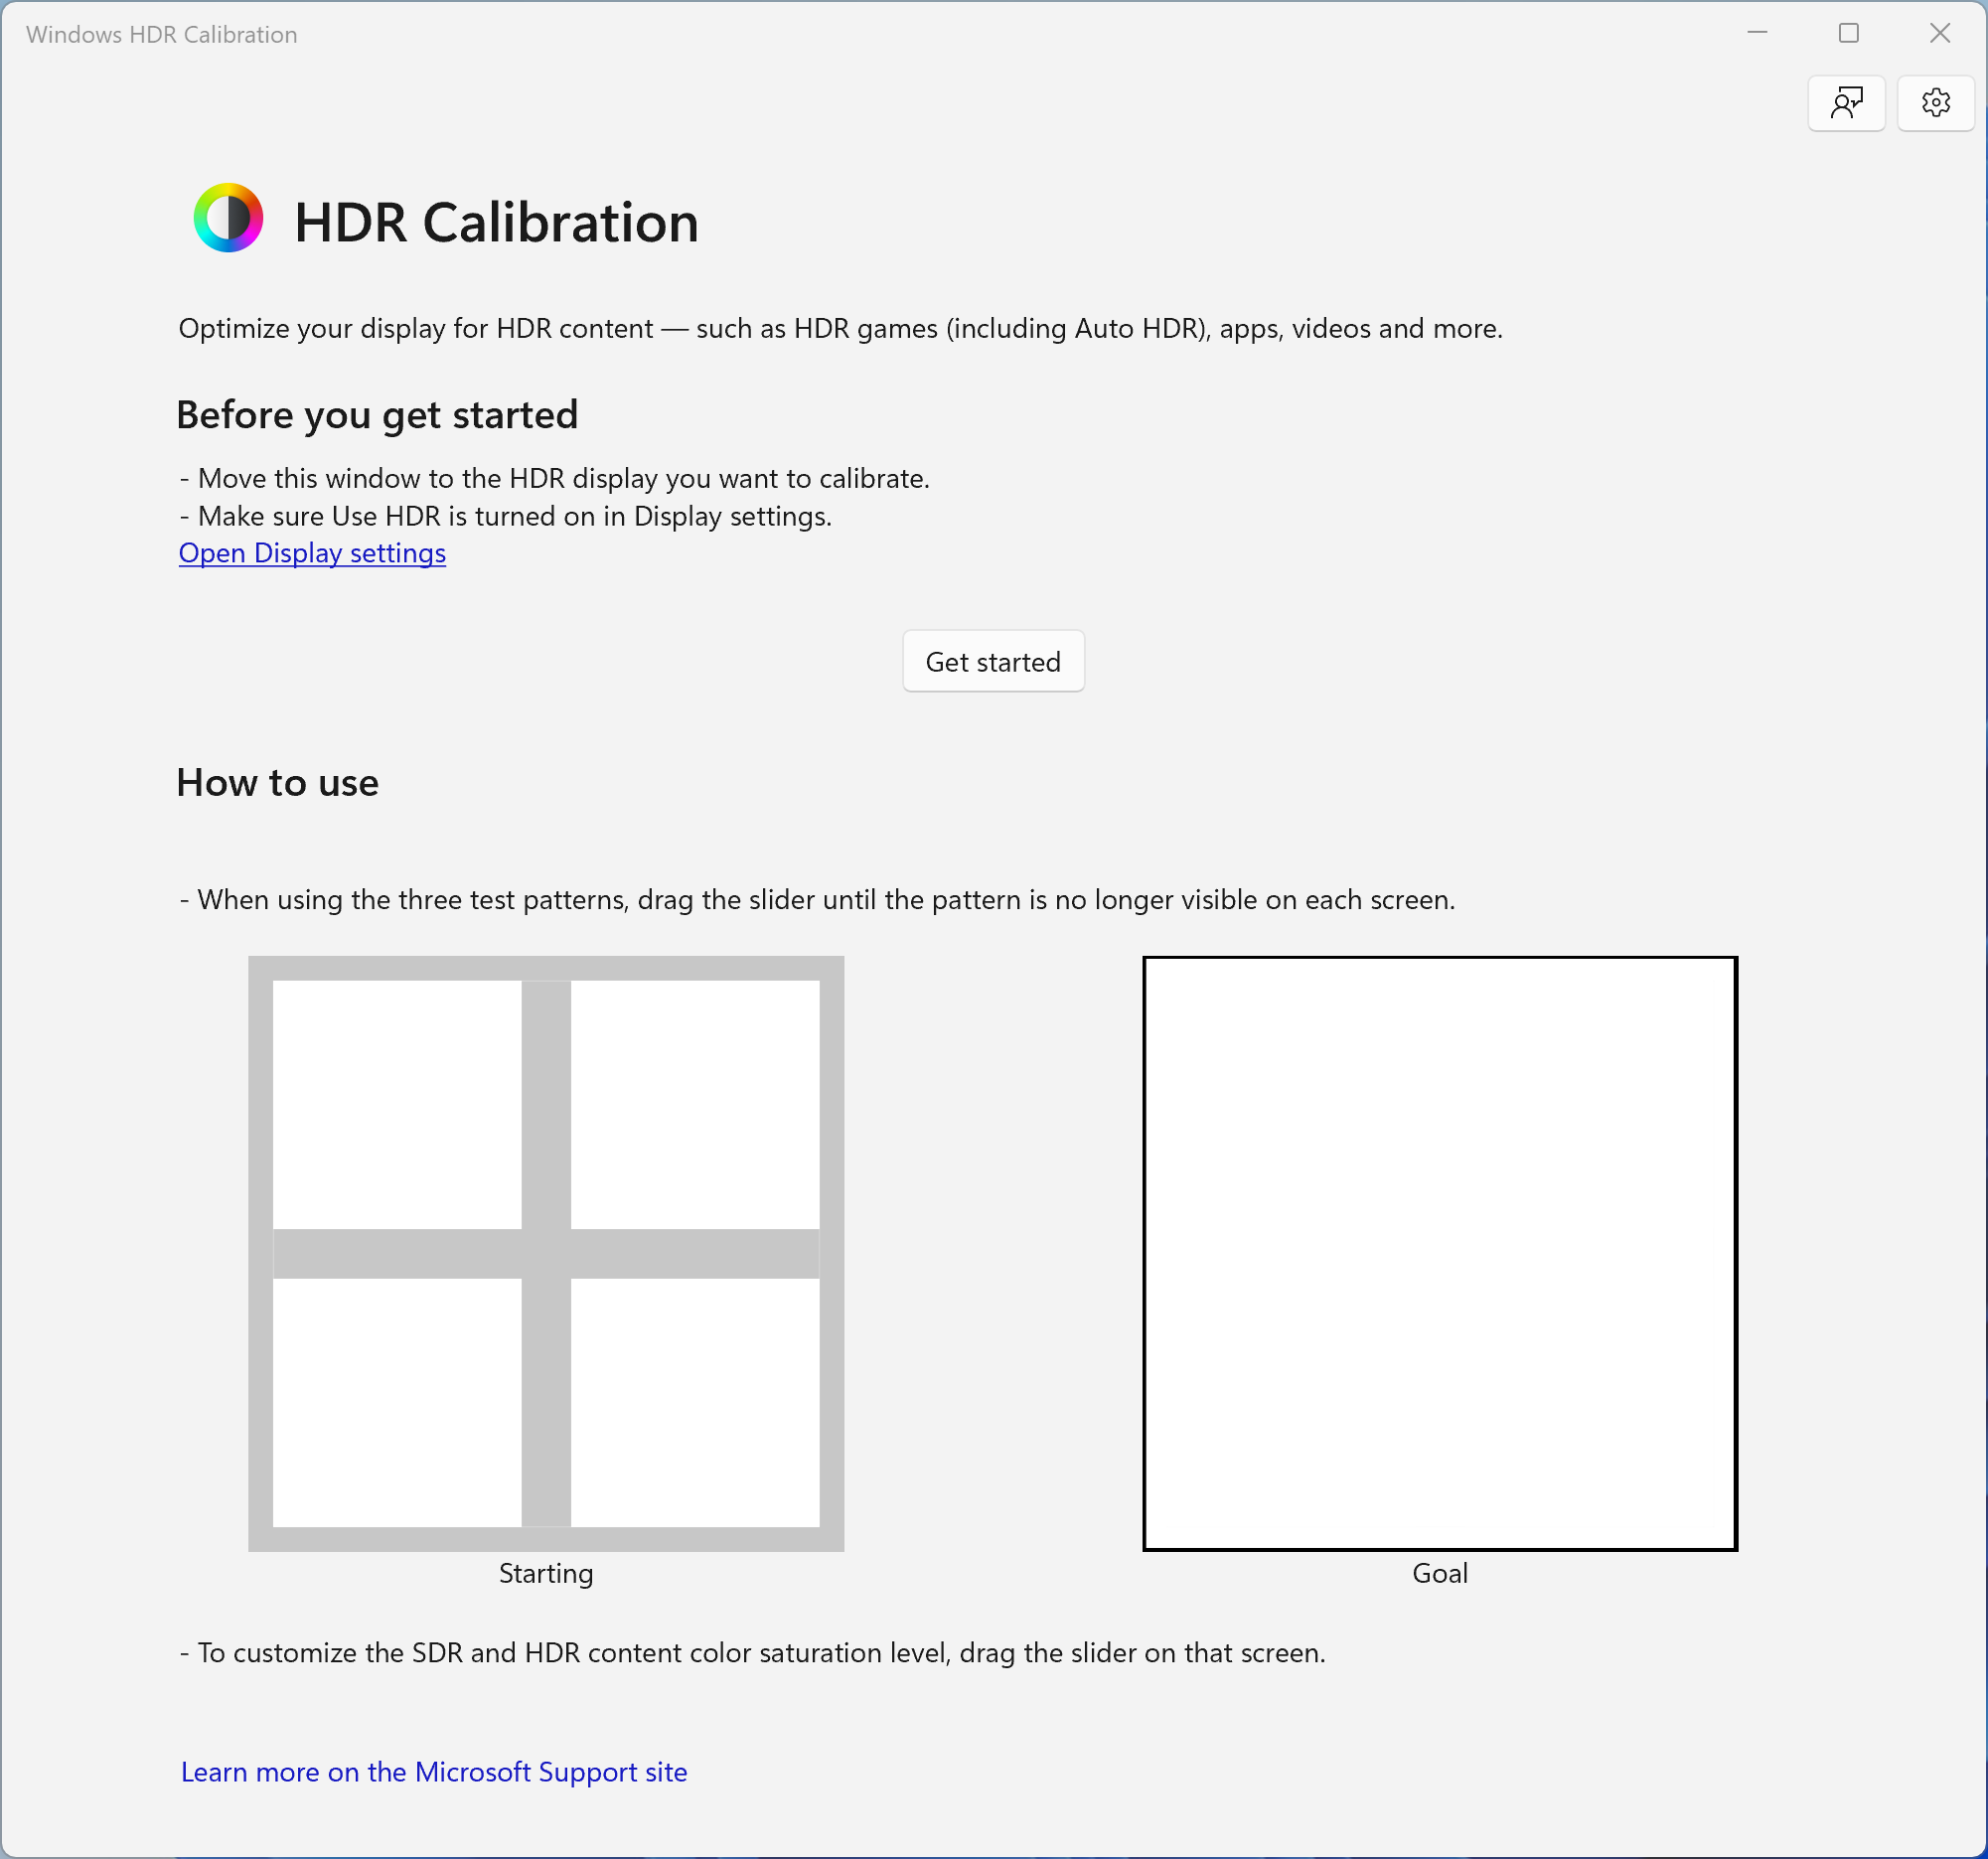
2 Open the Windows HDR Calibration app.
3 Move the Windows HDR Calibration app window on the HDR display you want to calibrate.
It is required to turn on HDR for the display you want to calibrate.
4 Click/tap on Get started when ready to calibrate the HDR display. (see screenshot below)
5 Adjust the Minimum Luminance slider at the bottom until the test pattern is no longer visible, and click/tap on Next. (see screenshot below)
6 Adjust the Maximum Luminance slider at the bottom until the test pattern is no longer visible, and click/tap on Next. (see screenshot below)
7 Adjust the Max Full Frame Luminance Test slider at the bottom until the test pattern is no longer visible, and click/tap on Next. (see screenshot below)
8 Drag the SDR and HDR content color saturation slider at the bottom to adjust the saturation from less saturated (default, on the left) to more saturated (right) for what looks good to you, and click/tap on Next. (see screenshot below)
The change for color saturation might be subtle and depends on your display characteristics.
9 Review the before and after calibration, and perform one of the following actions: (see screenshot below)
- If you are not happy with the calibration, click/tap on Restart to go back to step 4 to start over.
- If you are happy with the calibration, click/tap on Finish to save it as the default color profile for this HDR display.
10 If you clicked on Finish, click/tap on OK. (see screenshot below)
11 You can now close the Windows HDR Calibration app.
That's it,
Shawn Brink
Related Tutorials
- Turn On or Off HDR for Display in Windows 11
- Turn On or Off HDR on Battery in Windows 11
- Check Display Capabilities for HDR in Windows 11
- Turn On or Off Auto HDR in Windows 11
- Calibrate Built-in Display for HDR Video in Windows 11
- Change HDR or SDR Content Brightness for HDR Display in Windows 11
- Calibrate Display Color, Brightness, and Contrast in Windows 11
- Export (backup) Display Color Profile in Windows 11
- Add (restore) Display Color Profile in Windows 11
- Remove Display Color Profile in Windows 11
Last edited: