This tutorial will show you how to enable or disable the Hyper-V feature for all users in Windows 10 and Windows 11.
Hyper-V enables running virtualized computer systems on top of a physical host. These virtualized systems can be used and managed just as if they were physical computer systems, however they exist in virtualized and isolated environment. Special software called a hypervisor manages access between the virtual systems and the physical hardware resources. Virtualization enables quick deployment of computer systems, a way to quickly restore systems to a previously known good state, and the ability to migrate systems between physical hosts.
When Hyper-V is enabled, each account can use Hyper-V Manager (virtmgmt.msc) to manage their own virtual machines.
Hyper-V requirements:
- Windows 10/11 Enterprise, Pro, or Education edition
- 64-bit Processor with Second Level Address Translation (SLAT).
- Minimum of 4 GB memory.
- Intel ("Intel VT" or "VT-x") or AMD ("AMD-V") CPU virtualization enabled in BIOS/UEFI
- Hardware Enforced Data Execution Prevention ("Data Execution Prevention," "XD," "Execute Disable," or "NX") enabled in BIOS/UEFI

Hyper-V technology overview
Describes what Hyper-V is, how to get it, key features, and common uses. This article includes an overview for Hyper-V in Windows and Windows Server.
docs.microsoft.com

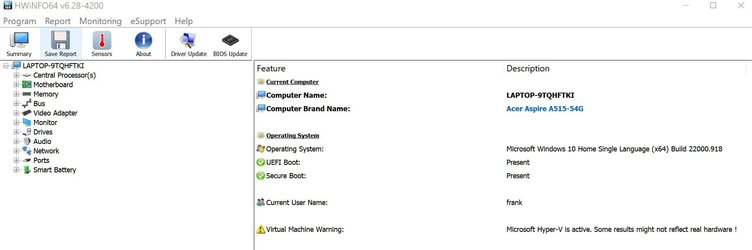
Hyper-V is supported in Pro, Enterprise and Education Edition of Windows 10 and Windows 11. This guide will show you how to enable Hyper-V in Home Editions of Windows 10 and Windows 11.
Hyper-V is supported in Pro, Enterprise and Education Edition of Windows 10 and Windows 11. This guide will show you how to enable Hyper-V in Home Editions of Windows 10 and Windows 11. - Hyper-V i...
 gist.github.com
Step-By-Step: Enabling Hyper-V for Use on Windows 11
Want to use Hyper-V on Windows 11? Hyper-V is a virtualization technology that is valuable not only for developers and IT Professionals, but also for college...
 techcommunity.microsoft.com
You must be signed in as an administrator to enable or disable Hyper-V.
Contents
- Option One: Enable or Disable Hyper-V in Windows Features
- Option Two: Enable or Disable Hyper-V in PowerShell
- Option Three: Enable or Disable Hyper-V in Command Prompt
EXAMPLE: Hyper-V Manager
1 Open Windows Features (OptionalFeatures.exe).
2 Do step 3 (enable) or step 4 (disable) below for what you want.
3 Enable Hyper-V
A) Check Hyper-V, Hyper-V Management Tools, and Hyper-V Platform. (see screenshot below)
B) Click/tap on OK, and go to step 5.
4 Disable Hyper-V
This is the default setting.
A) Uncheck Hyper-V, Hyper-V Management Tools, and Hyper-V Platform. (see screenshot below)
B) Click/tap on OK, and go to step 5.
5 Click/tap on Restart when ready to apply. (see screenshot below)
1 Open Windows Terminal (Admin), and select Windows PowerShell.
2 Copy and paste the command below you want to use into Windows Terminal (Admin), and press Enter. (see screenshots below)
(Enable Hyper-V)
Enable-WindowsOptionalFeature -Online -FeatureName "Microsoft-Hyper-V" -AllOR
(Disable Hyper-V)
This is the default setting.
Disable-WindowsOptionalFeature -Online -FeatureName "Microsoft-Hyper-V"3 When prompted to restart the computer to apply, type Y, and press Enter when ready.
1 Open Windows Terminal (Admin), and select Command Prompt.
2 Copy and paste the command below you want to use into Windows Terminal (Admin), and press Enter. (see screenshots below)
(Enable Hyper-V)
DISM /Online /Enable-Feature /FeatureName:"Microsoft-Hyper-V" -AllOR
(Disable Hyper-V)
This is the default setting.
DISM /Online /Disable-Feature /FeatureName:"Microsoft-Hyper-V"3 When prompted to restart the computer to apply, type Y when ready.
That's it,
Shawn Brink
Related Tutorials
- Enable or Disable Hyper-V for Standard Users in Windows 11
- Connect Hyper-V to Local Computer Virtualization Server in Windows 11
- Enable or Disable Hyper-V Enhanced Session Mode in Windows 11
- Share Local Resources with Hyper-V Virtual Machine in Windows 11
- Enable or Disable Checkpoints for Hyper-V Virtual Machine in Windows 11
Last edited:


")