This tutorial will show you how to switch to S mode in Windows 11.
Windows 11 in S mode is a "secure" version of Windows 11 that is streamlined for security and performance, while providing a familiar Windows experience. To increase security, it allows only apps from Microsoft Store, and requires Microsoft Edge for safe browsing.
If you have a Windows 11 in S mode edition installed, you will only be able to install apps from The Microsoft Store only. If you want to install an app that isn't available in the Microsoft Store, you'll need to switch out of S mode.
Windows 11 in S mode is only available in the Windows 11 Home edition by default.
If you switched out of S mode or just wanted to test S mode in Windows 11, then you can switch to Windows 11 in S mode on demand from any edition of Windows 11.
References:
Windows 10 and Windows 11 in S mode FAQ - Microsoft Support
Get answers to common questions about Windows 11 and Windows 10 in S mode.

You must be signed in as an administrator to switch to S mode in Windows 11.
S Mode requires Secure Boot to be enabled.
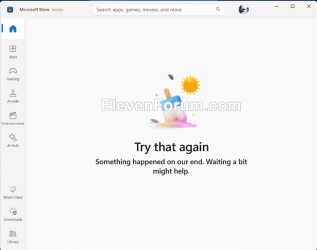
It is recommended to create a system image before switching to Windows 11 in S mode to avoid a clean install of Windows 11 in case you get the dreaded "Try that again" error message like below the next time you try to switch out of S mode.

EXAMPLE: Windows 11 in S mode
Here's How:
1 Click/tap on the Download button below to download the file below.
Switch_to_Windows_11_in_S-mode.reg
Download
(Contents of REG file for reference)
Code:
Windows Registry Editor Version 5.00

[HKEY_LOCAL_MACHINE\SYSTEM\ControlSet001\Control\CI\Policy]
"SkuPolicyRequired"=dword:00000001
2 Save the .reg file to your desktop.
3 Double click/tap on the downloaded .reg file to merge it.
4 When prompted, click/tap on Run, Yes (UAC), Yes, and OK to approve the merge.
5 Restart the computer to apply.
6 You can now delete the downloaded .reg file if you like.
That's it,
Shawn Brink
Attachments
Last edited:


