To set up your Brother DCP-L2540DW on a wired network, disable its Wi-Fi, connect an Ethernet cable from the printer to your router, and run the Brother software on your computer to detect and install the printer.
Here are the step-by-step instructions:
Step 1: Enable Wired Network (and disable Wi-Fi)
Since the printer cannot use both wired and wireless connections simultaneously, ensure Wi-Fi is turned off and Wired LAN is enabled.
- Press the Menu button on the printer's control panel.
- Press the ▲ or ▼ arrow keys to select Network and press OK.
- Select Wired LAN (or WLAN) and press OK.
- Select Wired Enable and set it to On. If prompted to turn WLAN (Wireless) off, confirm it.
Step 2: Connect the Hardware
- Plug one end of a standard Ethernet cable into the LAN port on the back of your printer.
- Plug the other end into an available LAN port (Ethernet port) on your home router.
Step 3: Install Software on Your Computer
- Navigate to the official Brother Setup Page.
- Download and run the Full Driver & Software Package.
- When the connection type prompt appears, select Wired Network Connection (Ethernet).
- The installer will search your network for the printer. Select it from the list and complete the on-screen instructions.
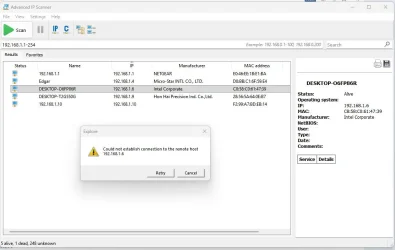
For a visual overview of how the wired network installation works:
Wired Network Install DCPL2550DW - Windows