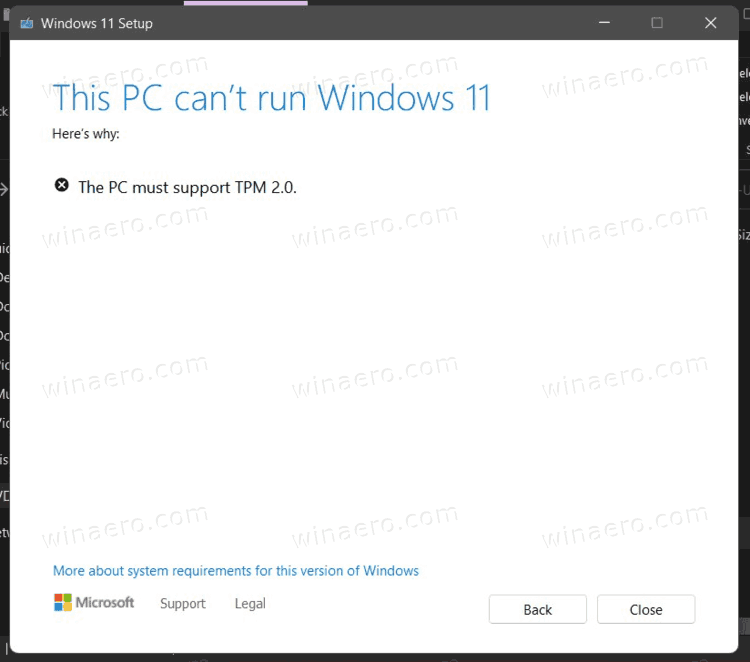
Hi folks
Another way to install on laptops without TPM etc. Since a lot here are using Virtual machines -- this is how to get to run on a physical laptop - testing on a not too old HP Envy sleekbook laptop with i5 CPU and 250 GB nvme SSD.
@Kari -- points noted -- cheers - we all get carried away at times. !!!
However I've tested these scenarios -- created a Windows Macrium image via Macrium Free from WITHIN the VM on these scenarious - VBOX, VMWare and KVM /QEMU. The VM I have been using was actually Windows workstation rather than W11 Pro but the principle is the same and I was using EFI boot / not secure boot but just bog standard efi boot for all the VM's.
Ensure the VM you are using has standard SATA/ AHCI driver in it. Also add any applications you need -- OK you can do that afterwards but it's easier to do this first in the VM (IMHO) so you don't need to do it again afterwards.
(Added -- If it doesn't an easy way is to add a "physical disk" to whatever VM system you are using - you don't have to do anything with that disk of course - and if testing use a disk that you don't have important data on it). The VM system will then ensure the relevant SATA driver is also added to your VM at ist boot. Then simply power off the VM again after taking the Macrium image).
Then create the stand alone Macrium restore ISO -- From WITHIN the VM you are running on -- you need to do this on EACH VM (VMWare, VBOX, KVM) to ensure the initial drivers are there -- use the PE version not RE one.
Use Rufus to create bootable restore program -- if you've got a 64GB USB device too then my standard 40 GB install took 20GB for the Macrium image and you can add the image to the bootable USB.
Note My VM's were all on an AMD box with R7 graphics - the restores etc were all to the test HP envy sleekbook with INTEL chipset, graphics and CPU.
Boot the device and restore the image to your disk on the laptop.
While still in Macrium do the "Fix windows boot problems"
Now boot laptop. It should work but before the next step you'll probably want to increase the "C" size from probably a small amount most people have when messing around with VM's.
After it boots - reboot again with stand alone partition manger -- :
Use stand alone partition manager - I use GPARTED but any will do to increase size of "C" partition.
Now re-boot the restored system.
You'll get a boot but there will be a slew of things that need updating.
so load up or point to any recent Windows 10 image - I'm using the latest standard release which I created on to a Win2GO external disk but any current recent W10 image is fine.
Go through the device manager and update all the things with Unknown device - choose browse "This PC" and choose the Windows 10 image -->system32>DriverStore.
All fixed !!!"
I haven't tested for HOME - but I never use or have any interest in HOME edition - perhaps someone running a HOME VM could test this method to see if it works too.
If anybody can try this with a HYPER-V image I'll be very interested -- it's worked OK on VMWare and VBOX as well as KVM/QEMU.
Here's system specs of laptop !! Converted from a VM running on AMD system to INTEL laptop and after updating drivers etc as posted in the thread.

To get decent system info - ignore if you know that already - create a "Dummy" .nfo file - doesn't have to have anything in it - then after saving browse to it with windows explorer and double click. You'll get message "can't open .nfo file" or similar then a popup window will open with the system info. I'm sure there's a more elegant way of getting this but I don't know it - if anybody does please post. !!! Knowledge is never wasted. !!
@Brink @z3r010
once somebody has tested whether this works also for converting a VM created under HYPER-V) perhaps this can go in tutorial - Create Physical Machine from Virtual (V2P conversion)
Cheers
jimbo


