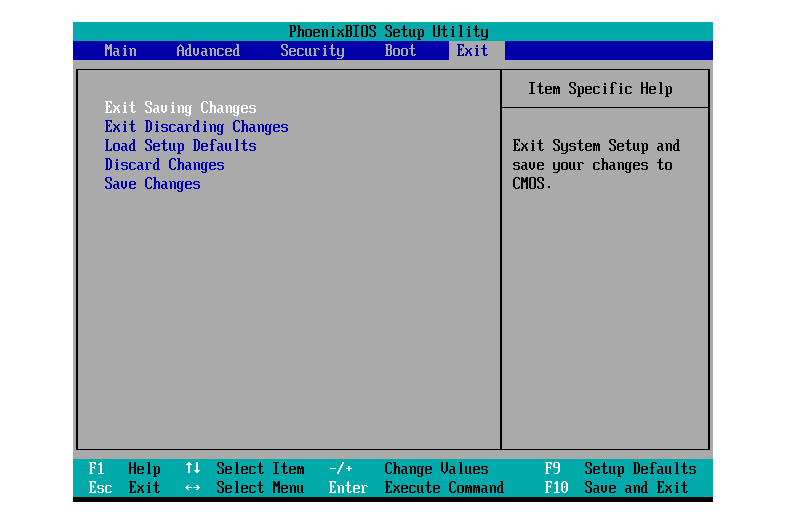
For now, temporarily disable Secure Boot in BIOS and start Windows. Run the check script, and post the output.I did a search and the answer was use the F10 key.
To create a bootable USB Drive download Rufus from Rufus - Create bootable USB drives the easy way
If you're in a boot loop, it's nearly impossible to debug it. Turning off Secure Boot will disable the security checks, and allow Windows to boot normally. From there, we can determine the next steps. Some older HP PC's appear to have a finicky BIOS that don't update correctly.
My Computer
At a glance
Windows 7
- OS
- Windows 7