This tutorial will show you how to create a bootable USB flash drive used to install Windows 11 with UEFI support.
You can use a Windows 11 installation USB flash drive to clean install, upgrade, reset, or repair Windows 11.
The installation USB can also be used as a recovery drive to boot to WinRE (aka: advanced startup).
You must be signed in as an administrator to create a bootable Windows 11 installation USB.
The USB flash drive needs to be at least 8 GB or larger in size.
- Option One: Create Windows 11 Bootable USB Installation Media with Media Creation Tool
- Option Two: Create Windows 11 Bootable USB Installation Media with Rufus [Good on unsupported hardware]
- Option Three: Create Windows 11 Bootable USB Installation Media in Command Prompt
This will be for a Windows 11 Version 24H2 build 26100.2033 USB.
1 Click/tap on the Download button below, and click/tap on the Download Now button at Microsoft's site below Create Windows 11 Installation Media. (see screenshot below)
2 Save the mediacreationtool.exe file version 10.0.26100.1 to your desktop, and run it.
3 If prompted by UAC, click/tap on Yes.
4 Click/tap on Accept for the license terms. (see screenshot below)
5 Uncheck the Use the recommended options for this PC box. (see screenshot below)
Leaving the Use the recommended options for this PC box checked will have the Media Creation Tool download an ISO that's the same language, edition, and architecture as the current PC.
6 Select (dot) USB flash drive, and click/tap on Next. (see screenshot below)
7 Connect your USB flash drive, click/tap on the Refresh drive list link, select the USB flash drive, and click/tap on Next. (see screenshot below)
8 It will now start Downloading Windows 11 and Creating Windows 11 media. (see screenshot below)
9 Click/tap on Finish when the USB flash drive is ready. (see screenshot below)
This is a good option if you are installing Windows 11 on a PC with unsupported hardware.
1 If you have not already, you will need to download a Windows 11 ISO file.
2 Download the latest version of Rufus, and save its .exe file to your desktop.
This is a standalone exe file that doesn't install anything to your PC. For Rufus FAQs, see: rufus FAQ on GitHub
3 Connect the 8 GB or larger USB flash drive.
This USB flash drive will be formatted and lose all data on it.
4 Run the Rufus .exe file, and click/tap on Yes if prompted by UAC.
5 Change the following settings in Rufus, and click/tap on Start when finished. (see screenshot below)
- Under Device, select the USB flash drive you want to format and use.
- Under Boot selection, click/tap on the SELECT button, and navigate to and select the Windows 11 ISO file.
- Under Image option (if available), select Standard Windows installation.
- Under Partition scheme, select GPT.
- Under Target system, select UEFI (non CSM).
- Under Volume label, you can enter any name you like for the USB flash drive, or leave the default name.
- Under File system, select FAT32 or NTFS.
- Under Cluster size, select the (Default) (ex: 4096 bytes) it has listed.
6 Check or uncheck the "Customize Windows installation" options you want, and click/tap on OK. (see screenshot below)
- Remove Requirement for 4GB+ RAM, Secure Boot and TPM 2.0 – Check this option if you want to install Windows 11 on a computer with unsupported hardware.
- Remove requirement for an online Microsoft account - Check this option to skip the Microsoft Account requirement. Windows 11 will not ask you to sign in with a Microsoft Account during the initial setup.
- Disable data collection (Skip privacy questions) – Windows 11 will not ask you to send diagnostic data, enable location, advertisement ID, and other things some users consider privacy-invading.
- Set a local account using the same name as this user's – Rufus will copy the current local account to the new installation.
- Set regional options using the same values as this user's – Rufus will copy the current regional settings to the new installation.
- Disable data collection (Skip privacy questions) - Windows Setup will not ask you to "Choose privacy settings for your device" during installation.
- Disable BitLocker automatic device encryption - Windows will not automatically turn on BitLocker or Device Encryption for your OS drive if setting up a Microsoft account during installation.
7 Click/tap on OK to confirm. (see screenshot below)
8 Rufus will now start creating the bootable USB flash drive. (see screenshot below)
9 When finished, click/tap on Close to close Rufus. (see screenshot below)
This option will use the dual FAT32 and NTFS partitions on the USB since the install.wim file for Windows 11 is usually over 4GB in size that prevents using only the FAT32 file system.

1 If you have not already, you will need to download a Windows 11 ISO file.
2 Connect the 8 GB or larger USB flash drive.
This USB flash drive will be formatted and lose all data on it.
3 Open an elevated Windows Terminal, and select Windows PowerShell or Command Prompt.
4 Type
diskpart into the elevated terminal, and press Enter. (see screenshot below step 18)5 Type
list disk into the elevated terminal, press Enter, and make note of the Disk # (ex: 3) for the USB flash drive from step 2.6 Type
select disk # into the elevated terminal, and press Enter.Substitute # in the command above with the actual Disk # (ex: 3) from step 5) above for the USB flash drive.
For example: select disk 3
7 Type
clean into the elevated terminal, and press Enter.8 Type
convert mbr into the elevated terminal, and press Enter.9 Type
create partition primary size=1024 into the elevated terminal, and press Enter.10 Type
create partition primary into the elevated terminal, and press Enter.11 Type
select partition 1 into the elevated terminal, and press Enter.12 Type
format fs=fat32 quick into the elevated terminal, and press Enter.13 Type
assign letter=X into the elevated terminal, and press Enter.14 Type
active into the elevated terminal and press Enter.15 Type
select partition 2 into the elevated terminal, and press Enter.16 Type
format fs=ntfs quick into the elevated terminal, and press Enter.17 Type
assign letter=Y into the elevated terminal, and press Enter.18 You can now close the elevated Windows terminal.
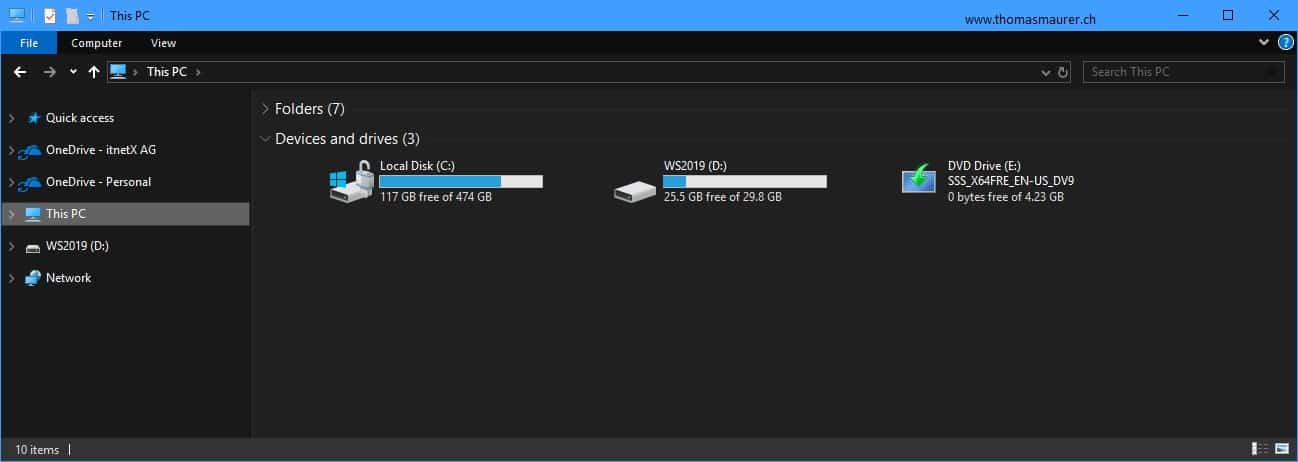
19 Open File Explorer (Win+E) to This PC. You will see the USB has two partitions. Partition "X" with FAT32 file system, and partition "Y" with NTFS file system. (see screenshot below)
20 Mount the ISO file from step 1.
21 Perform the following steps to copy the mounted ISO contents to the USB X: (FAT32) partition:
- Click/tap on the mounted ISO in the navigation pane of File Explorer to open it.
- Select everything except the sources folder in the mounted ISO.
- Right click or press and hold on the selected files.
- Click/tap on Show more options (Shift+F10).
22 Click/tap on Send to, and click/tap on the USB Drive (X: ). (see screenshot below)
23 Perform the following steps to copy the "sources" folder from the mounted ISO to the USB Y: (NTFS) partition:
- Click/tap on the mounted ISO in the navigation pane of File Explorer to open it.
- Select only the sources folder in the mounted ISO.
- Right click or press and hold on the selected sources folder.
- Click/tap on Show more options (Shift+F10).
24 Click/tap on Send to, and click/tap on the USB Drive (Y: ). (see screenshot below)
It may take a while to finish copying the sources folder to the USB Y: (NTFS) partition.
25 Open the USB X: (FAT32) partition, and create a new folder (Ctrl+Shift+N) named sources. (see screenshots below)
26 Open the Y:\sources folder from the USB Y: (NTFS) partition, and Cut (Win+X) the boot.wim file. (see screenshots below)
27 Paste (Ctrl+V) the boot.wim file from the USB Y: (NTFS) partition in step 24 into the new sources folder in the USB X: (FAT32) partition from step 23. (see screenshot below)
28 The Windows 11 bootable USB installation media is now ready.
29 You can unmount the ISO file.
30 You can now close all File Explorer windows.
That's it,
Shawn Brink


