This tutorial will show you how to turn on or off PowerToys Image Resizer for your account in Windows 10 and Windows 11.
Microsoft PowerToys is a set of utilities for power users to tune and streamline their Windows experience for greater productivity.
Image Resizer is a Windows shell extension for bulk image-resizing. After installing PowerToys, right-click on one or more selected image files in File Explorer, and then select Resize pictures from the menu. Turning off Image Resizer will remove Resize pictures from the context menu.
Image Resizer also allows you to resize images by dragging and dropping your selected files with the right mouse button. This way, resized pictures can quickly be saved in a different folder.
Reference:

PowerToys Image Resizer utility for Windows
A Windows shell extension for bulk image-resizing
learn.microsoft.com
EXAMPLE: Image Resizer
Here's How:
1 Open the PowerToys app.
2 Open PowerToys Settings. (see screenshot below)
3 Do step 4 (off) or step 5 (on) below for what you want.
4 Turn Off PowerToys Image Resizer
A) In PowerToys Settings, click/tap on Image Resizer in the left pane. (see screenshots below)
B) Turn off Enable Image Resizer, and go to step 6 below.
5 Turn On PowerToys Image Resizer
This is the default setting.
A) In PowerToys Settings, click/tap on Image Resizer in the left pane. (see screenshots below)
B) Turn on Enable Image Resizer.
C) You can configure the following settings:
Sizes
Add new preset sizes. Each size can be configured as Fill, Fit or Stretch. The dimension to be used for resizing can be configured as Centimeters, Inches, Percent and Pixels.Fill versus Fit versus Stretch
- Fill: Fills the entire specified size with the image. Scales the image proportionally. Crops the image as needed.
- Fit: Fits the entire image into the specified size. Scales the image proportionally. Does not crop the image.
- Stretch: Fills the entire specified size with the image. Stretches the image disproportionally as needed. Does not crop the image.
You can leave the width or height empty. The dimension will be calculated to a value proportional to the original image aspect ratio.
Fallback encoding
The fallback encoder is used when the file cannot be saved in its original format. For example, the Windows Meta File (.wmf) image format has a decoder to read the image, but no encoder to write a new image. In this case, the image cannot be saved in its original format. Image Resizer enables you to specify what format the fallback encoder will use: PNG, JPEG, TIFF, BMP, GIF, or WMPhoto settings. This is not a file type conversion tool, but only works as a fallback for unsupported file formats.File
The file name of the resized image can be modified with the following parameters:| Parameter | Result |
|---|---|
| %1 | Original filename |
| %2 | Size name (as configured in the PowerToys Image Resizer settings) |
| %3 | Selected width |
| %4 | Selected height |
| %5 | Actual height |
| %6 | Actual width |
Example: setting the filename format to:
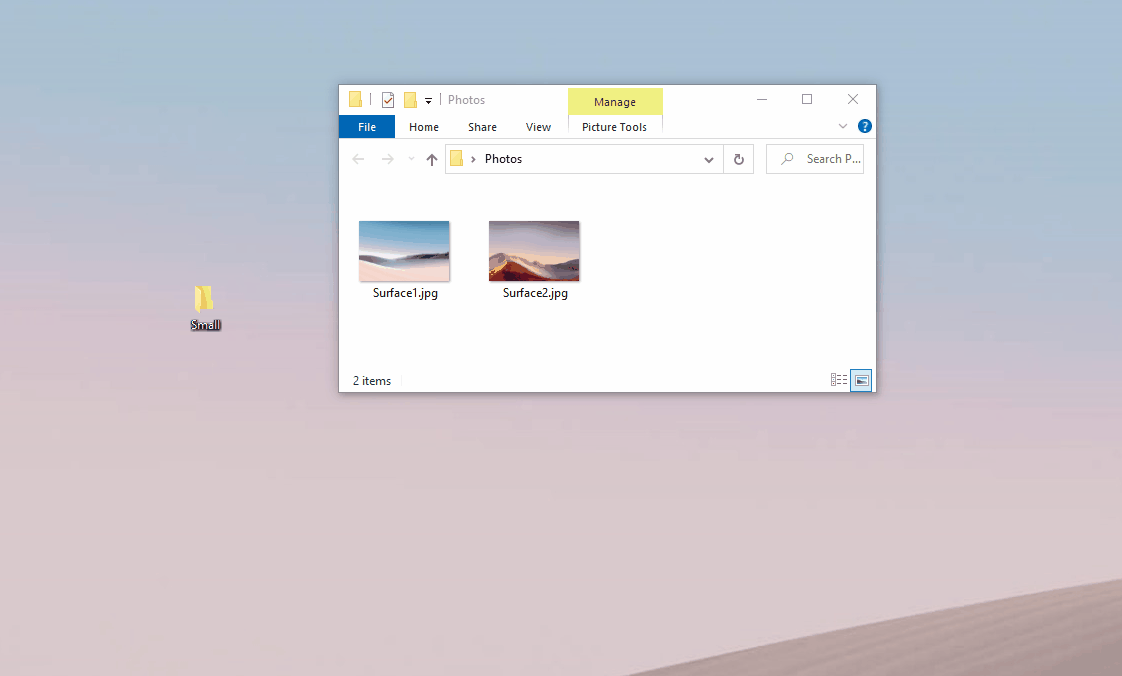
%1 (%2) on the file example.png and selecting the Small file size setting, would result in the file name example (Small).png. Setting the format to %1_%4 on the file example.jpg and selecting the size setting Medium 1366 x 768px would result in the file name: example_768.jpg.You can specify a directory in the filename format to group resized images into sub-directories. Example: a value of
%2\%1 would save the resized image(s) to Small\example.jpgCharacters that are illegal in file names will be replaced by an underscore
_.You can choose to retain the original last modified date on the resized image or reset it at time of the resizing action.
6 When finished, you can close PowerToys Settings if you like.
That's it,
Shawn Brink
Attachments

Last edited: