This tutorial will show you how to use the Generative erase tool in the Photos app to fix and remove distractions from an image in Windows 10 and Windows 11.
The Microsoft Photos app included in Windows is a rich media experience that empowers you to do more with your photos and videos. View, organize, and share photos from your PC, OneDrive, iCloud Photos (only on Windows 11) and other devices all from one gallery.
Starting with the Photos app version 2024.11020.21001.0 for all Windows Insiders, the Spot fix tool has received a boost with the help of AI and is now known as Generative erase in the app. This feature allows you to fix and remove distractions from your photos, like background objects or miscellaneous visual clutter. Compared to Spot fix, Generative erase creates a more seamless and realistic result after objects are erased from the photo, even when erasing large areas.
Reference:
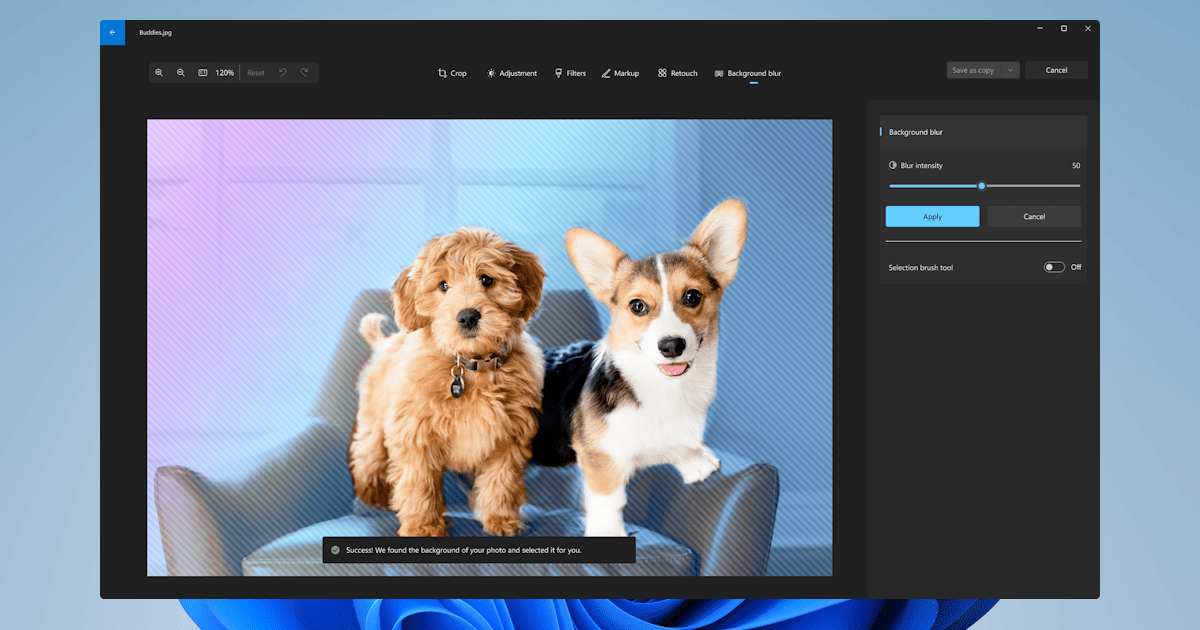
Windows Photos gets background blur, search, motion photo support, and other enhancements
UPDATE 9/22: The update to the Photos app for Windows 11 that includes Background Blur has begun rolling out to Windows Insiders in the Beta and Release Preview Channels (version 2023.11090.20015.0
Here's How:
1 Open the image you want to remove the background of in the Photos app.
2 Click/tap on the Edit image (Ctrl+E) button on the toolbar. (see screenshot below)
3 Click/tap on the Erase tab on the toolbar. (see screenshot below)
4 Do step 5 (Auto apply - ON) or step 6 (Auto apply - Off) below for what you want to use.
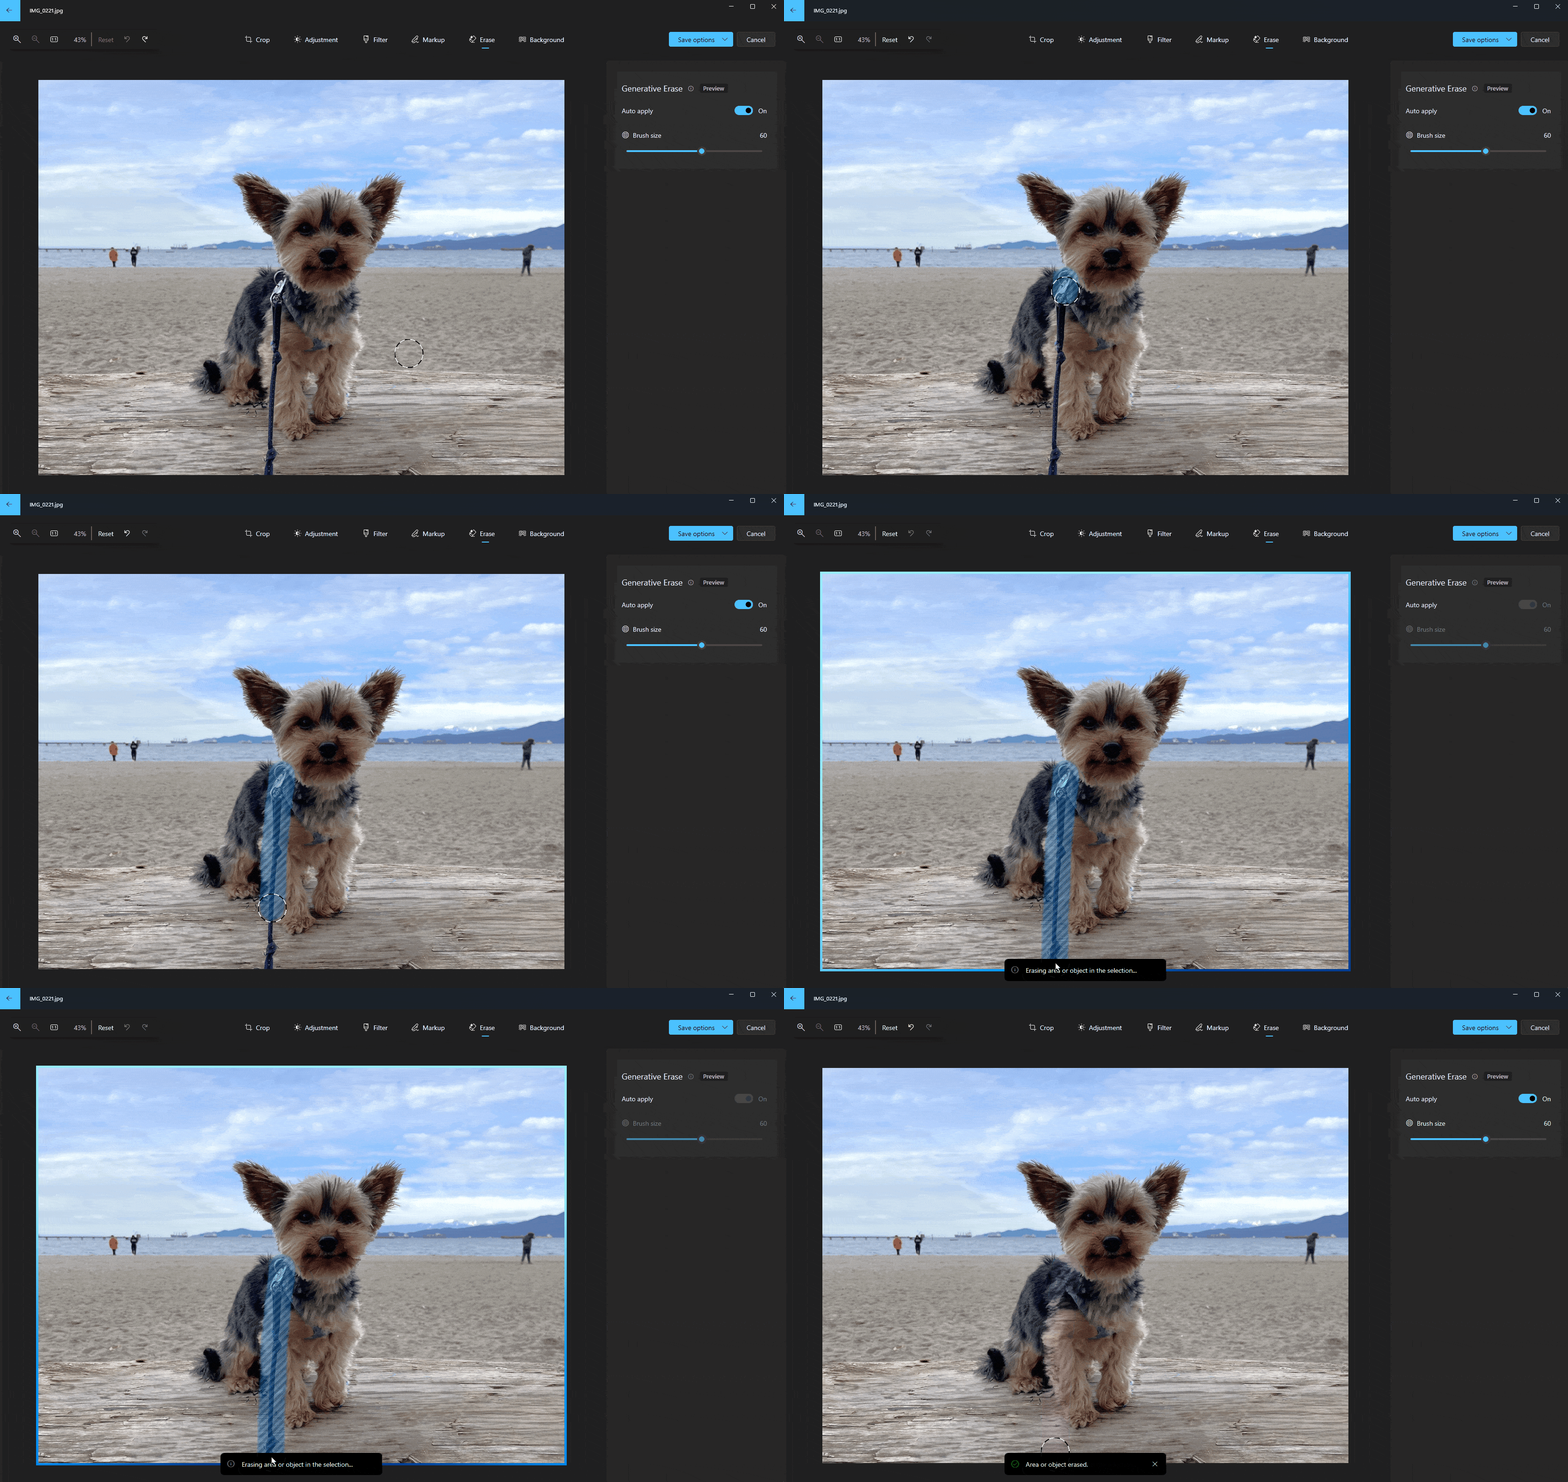
5 Use Generative Erase with Auto Apply ON
A) Turn On Auto apply. (see GIF below)
B) Adjust the Brush size to get the right level of precision you need.
C) Brush over the objects or areas you want to remove in the image.
D) Go to step 7 when finished.
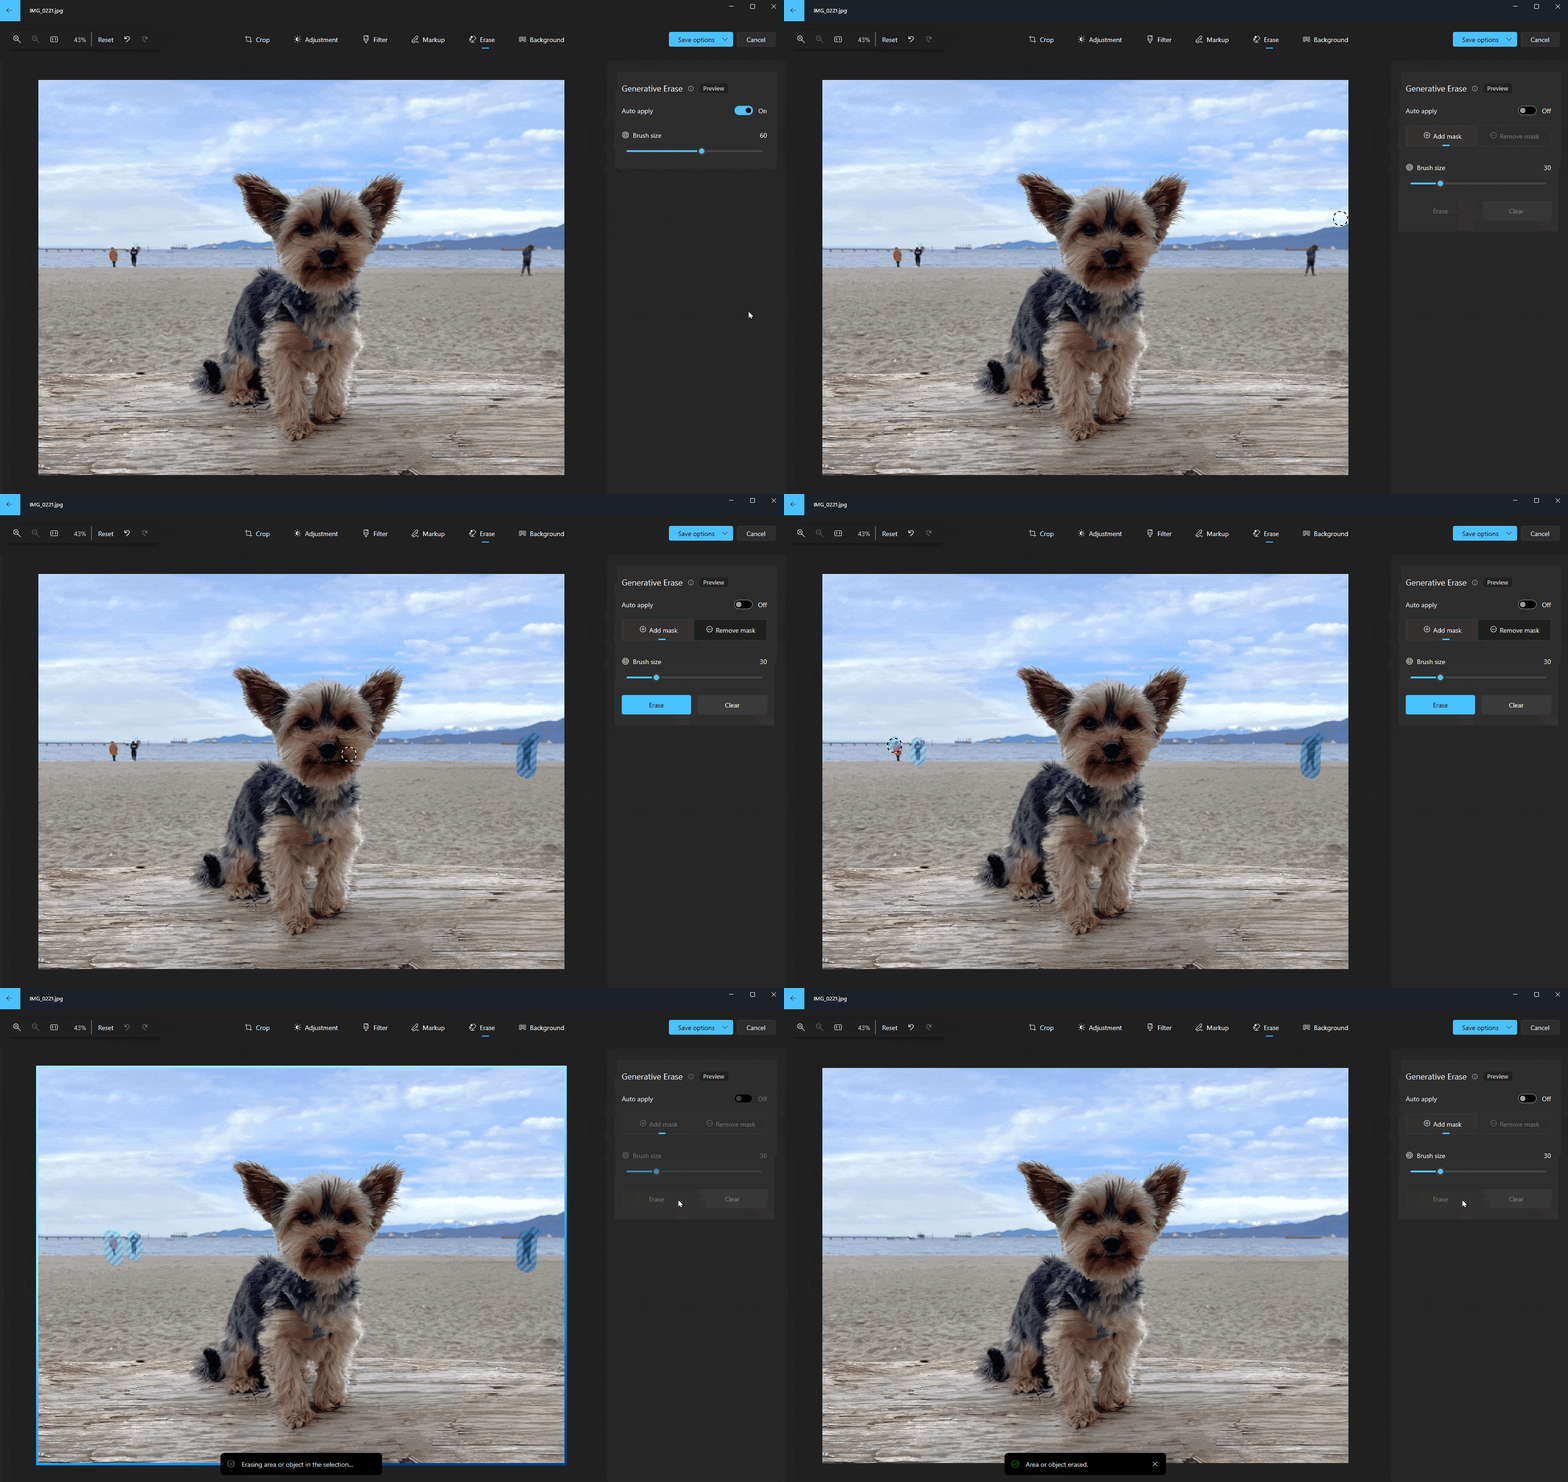
6 Use Generative Erase with Auto Apply OFF
This allows for even finer control or removing multiple objects at once by turning off Auto Apply to add or remove masks, where each mask represents an area that will be erased.
A) Turn Off Auto apply. (see GIF below)
B) Adjust the Brush size to get the right level of precision you need.
C) Select to Add mask or Remove mask.
D) When using Add mask, brush over the objects or areas you want to remove in the image.
E) When using Remove mask, brush over added masks in the image to remove them.
F) Click/tap on the Erase button to erase all areas marked with masks.
G) Go to step 7 when finished.
7 Click/tap on Save options, and click/tap on Save as copy, Save, or Copy to clipboard in the drop menu for what you want. (see screenshot below)
That's it,
Shawn Brink
Attachments
Last edited:


