- Local time
- 1:31 PM
- Posts
- 133
- OS
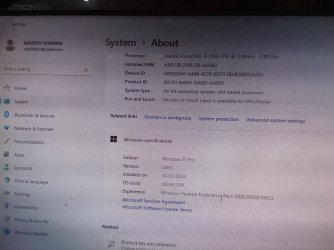
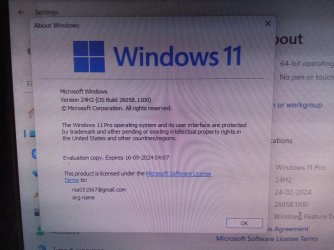
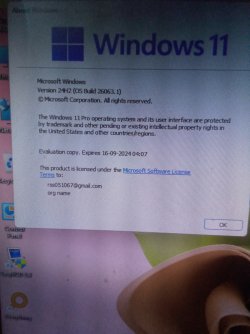
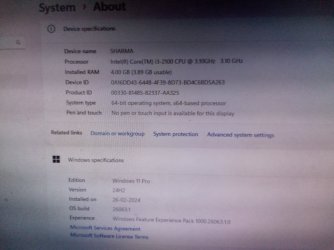
- Window 11 v24H2 Build 26085.1
1.Download insider preview Windows 11 Pro v24H2 build 26063.1 from uupdump. net
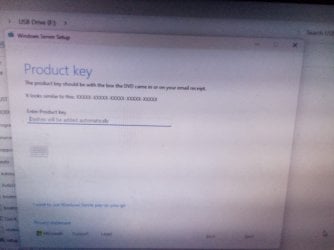
2. Prepare bootable usb of Windows 11 v 24H2 build 26063.1from link Install Windows 11 v 23H2 on unsupported pc without using command prompt by using bootable usb prepared manually within current Windows OS.
2.I have attatched bypass11.zip and images of upgradation in my pc.
3. Please read the above said post and prepare a bootable usb of Windows 11 v 24H2 build 26063.1
4. This bootable usb works well for installation and in place upgradation.
5. To safely update from within current Windows, right click on file Quick_11_iso_esd_wim_TPM_toggle to run as administrator. This adds send to option to iso in context menu. It means that if we right click on the iso downloaded from uupdump. net, it gives send to Quick_11_iso_esd_wim_TPM_toggle. This patches the downloaded Windows 11 iso.
6. Alternatively we can drag and drop the iso on file Quick_11_iso_esd_wim_TPM_toggle, this patches TPM. But to make bootable usb to clean install , file auto must be run as administrator, from within current Windows running on pc.
7. Then mount the patched iso on virtual drive. Explore, run setup.
8. To clean install from bios, keep usb as first boot device.
9. Thank you all for reading this post.
10. Upgradation did not erase anything on my pc. All previous data on OS partition are safe. All user files are safe.
- Windows Build/Version
- Windows 11 Pro v23H2 build 22631 and Windows 11 Pro v24H2 build 26063.1
Attachments
Last edited:
My Computer
System One
-
- OS
- Window 11 v24H2 Build 26085.1
- Computer type
- PC/Desktop
- Manufacturer/Model
- ASSEMMBLED
- CPU
- Intel Pentium CPU G620@ 2.60 GHz
- Motherboard
- DAICHI
- Memory
- 6 GB
- Graphics Card(s)
- Onboard
- Sound Card
- Onboard
- Monitor(s) Displays
- LG
- Screen Resolution
- 1366x768
- Hard Drives
- Toshiba HDD 1 TB
- Keyboard
- Mechanical
- Mouse
- Mechanical
- Internet Speed
- 700 kb/s
- Browser
- Microsoft EDGE, CHROME
- Antivirus
- Microsoft Defender